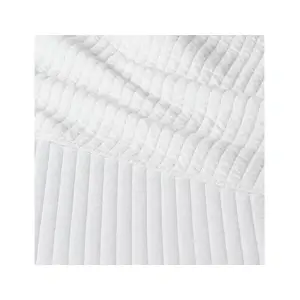
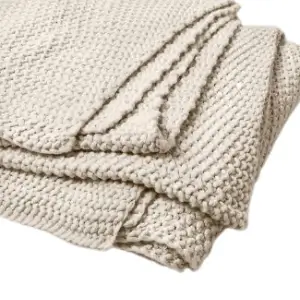
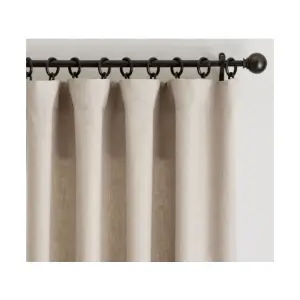
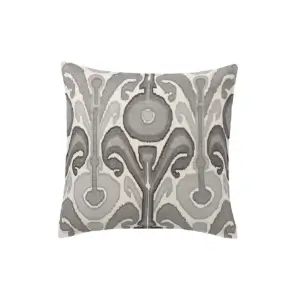
When a client reached out and said she needed a refreshed guest bedroom done in two weeks, I knew I had to act fast! Picking up stuff that was readily available at my local retailers and quick ship options saved the day. I wanted to keep the palette neutral so that it had a timeless appeareance and would stay in-trend for quite some time. I just wanted pops of blue and grays to keep some pops for your eye to gravitate to.
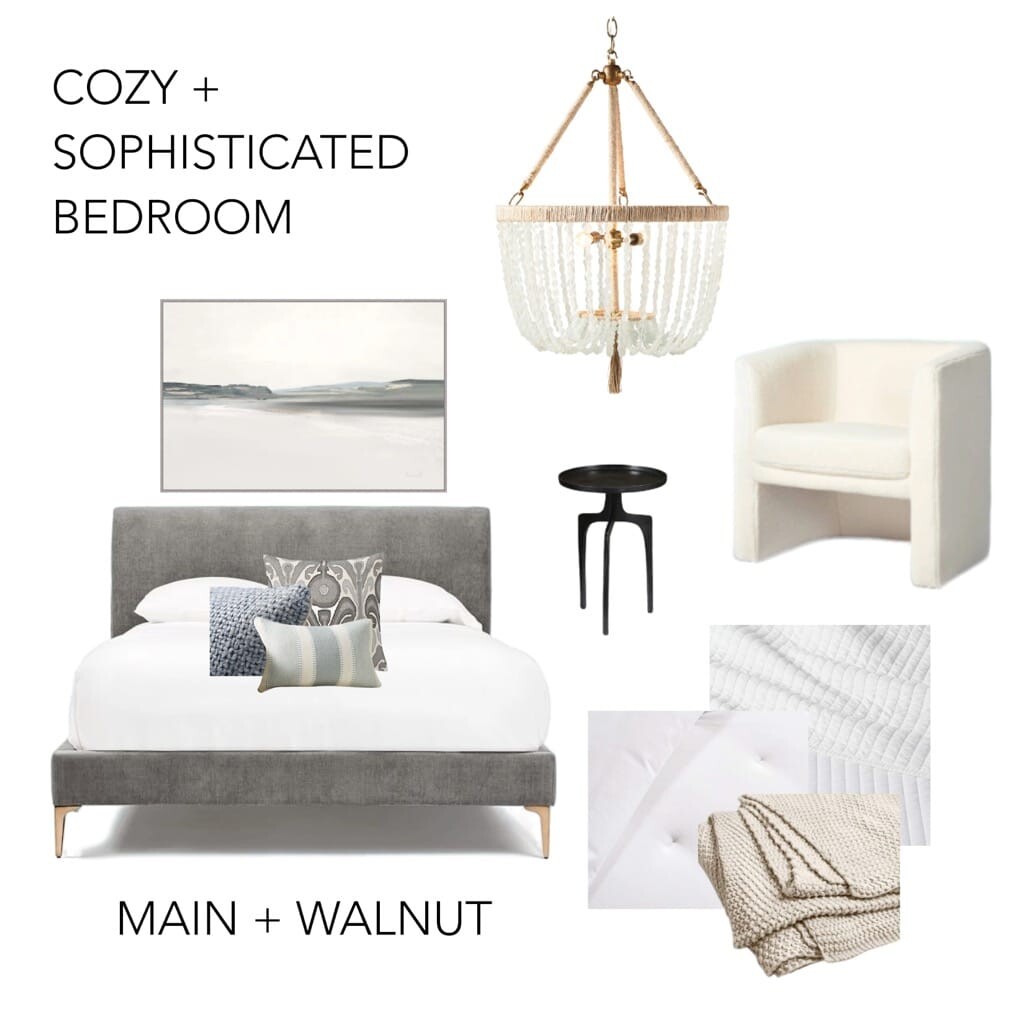
I went on the hunt through some of my favorite local retailers, like West Elm, Pottery Barn, and Target and found the inspiration I needed to put together a mood board. Digital mood boards are simply a collection of ideas, inspiration, or products you are recommending. Physical ones are much more textile rich. By using fabric swatches, hardware, or tiles you can create a much more interactional board.
I always create a simple mood boards for clients. it is a great representation of the entire concept you’re trying to suggest for the space. There are a lot of fancy software options available to make mood boards, but I keep it simple and just use Pages or Pixelmator Pro (both available for Macs).
Furniture
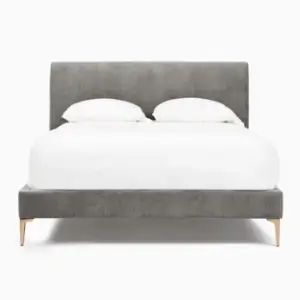
Bedframe: This was the most stressful of the design. Finding a new bedframe that was easy to obtain was a challenge. I came across the Andes Bedframe from West Elm. It was available as a quick-ship option and it was perfect!
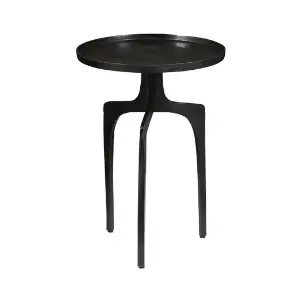
The client wanted to reuse her existing nightstand and 6 drawer dresser. Which, in this case, I am thankful for. Trying to find coordinating pieces that would arrive within 2 weeks would have been pretty close to impossible.
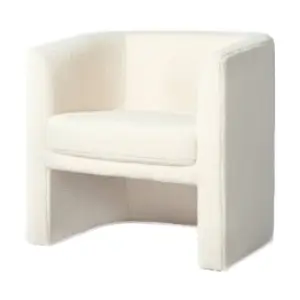
Chair: This came from Target and is a collaboration done by the incredibly talented team at Studio McGee. It is in an incredibly fun creamy sherpa fabric.
Textiles
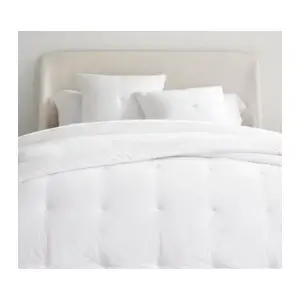
Bedding: I also go for a well layered, lux look for bedding, especially for a guest bed. It creates an inviting and cozy space for your guests. You also want things that are easy to care for and maintain. I generally go for a coverlet/quilt, layer in a comforter, and throw.
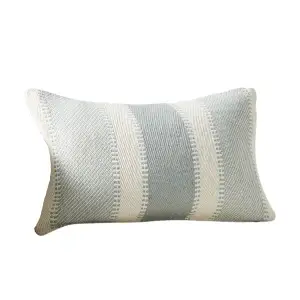
Pillows: Do not be afraid to mix patterns. I know it can be a struggle, but the overall completed look is worth it. The key is to mix pattern scale, pattern shape, and size. To clarify, have one pillow with a large scale print, another with a smaller print, and a coordinating solid color pillow and that can create well curated collection!
Curtains: I’m obsessed with belgian linen panels, they allow just the right about of light in.
Finishing Touches
When I do an installation, I start with the most challenging item first. In this case (and I assume for most) it’s curtains. Getting curtains right can have a huge impact on the scale of your space. It can give you lots of elevation and allow more light in, when done correctly. Learn how to hang curtains like a designer. Hanging art can be another huge struggle for some, but buy an inexpensive picture hanging kit. It makes hanging art effortless, you won’t regret it!
I typically change the look of the bedding based on the season. In this instance, I used the coverlet on the bed and folded a comforter in thirds at the foot of the bed. In colder seasons, I rotate those and use the coverlet at the foot of the bed. This just is another way to keep your guests comfort in mind during their stay.
This guest room is not going to be used regularly, so adding a clock, faux plant, and table lamp were really all that was needed. However, if you frequently host, consider adding amentities your guests might enjoy. Useful items such as bottled water, magazines, toiletries, and gum or mints, can really help a guest feel right at home.
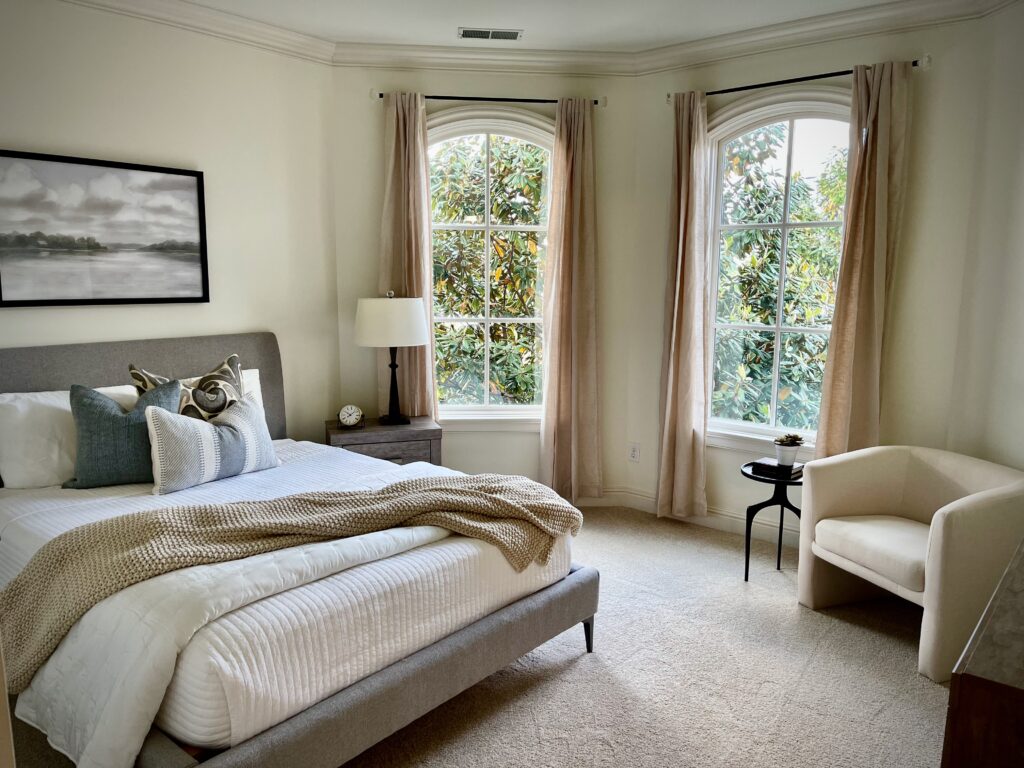
And now, a Cozy + Sophisticated Guest Bedroom from concept to install! What do you think of the final project?
→ Related Read: How to Design a Perfectly Scaled Dining Room
→ Related Read: A Stunning Den in 4 Steps
